


Introduction
Turning an image into a 3D print used to require CAD skills, hours of modeling, and a lot of trial and error. For most people, that made 3D creation inaccessible.
That’s starting to change.
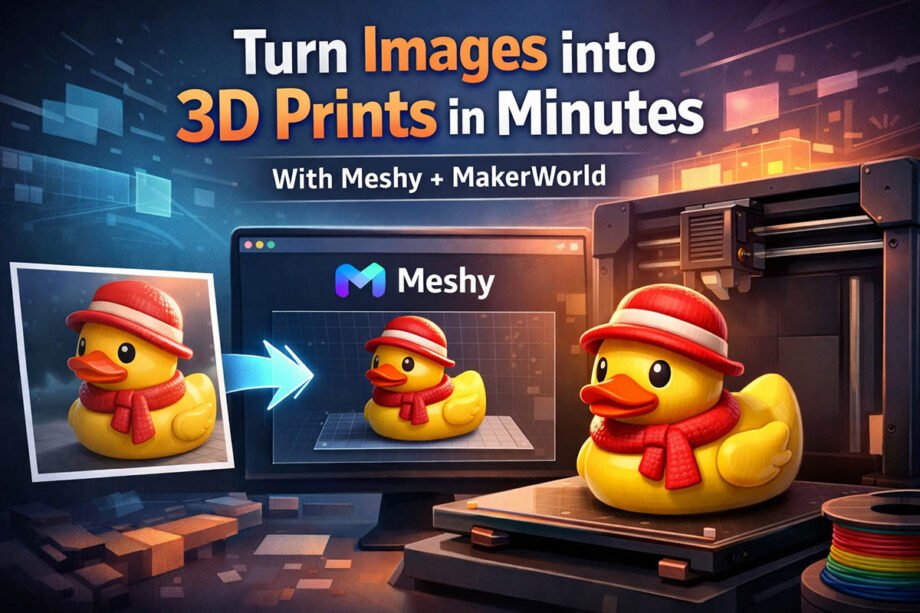
With Meshy now integrated into MakerWorld, the image to 3D print workflow has been simplified to the point where you can go from a single image to a printable model in minutes—without traditional modeling.
This isn’t a step-by-step tutorial. Instead, this is a clear explanation of what’s actually possible now, how the workflow works at a high level, and where the limitations still are.
What the Image to 3D Print Workflow Looks Like Today
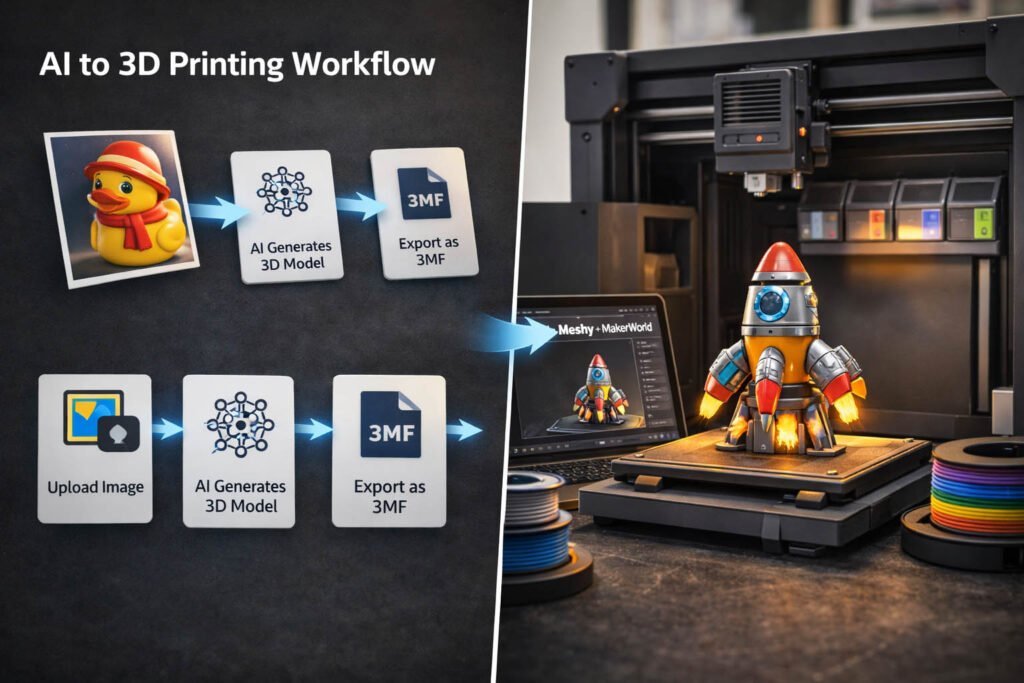
At a high level, the modern AI to 3D printing pipeline looks like this:
- Upload an image
- AI generates a 3D model
- Export the model (typically as 3MF)
- Open in a slicer like Bambu Studio
That’s it.
The biggest shift is that AI replaces manual modeling. Instead of building geometry from scratch, tools like Meshy generate an image to 3D model automatically.
What Meshy + MakerWorld Actually Does
Meshy’s Image-to-3D tool is now available inside MakerWorld’s MakerLab. That means:
- Everything runs in your browser
- No CAD software required
- No modeling experience needed
You upload an image, and Meshy generates a 3D model in minutes.
You can then export it as:
- STL → basic geometry only
- 3MF → includes color and printing data
For most modern workflows—especially multi-color—3MF is the better option.
What Makes This Workflow Different
The key difference isn’t just speed—it’s accessibility.
Before, creating a printable model required:
- Learning CAD software
- Understanding geometry and constraints
- Manually preparing models for printing
Now, much of that is handled automatically.
This opens the door for:
- Beginners
- Hobbyists
- Small creators and sellers
You can go from idea → object much faster than before.
Where Multi-Color Printing Fits In
One of the more interesting parts of Meshy’s approach is how it handles color.
Normally, when you import a model into a slicer, color information is lost. Most slicers focus on geometry, not textures.
Meshy addresses this by:
- Converting textures into color zones
- Mapping those zones to filament changes
- Exporting a 3MF file that works with systems like Bambu AMS
The result is a multi color 3d printing workflow that requires far less manual setup.
Why 3MF Matters More Than STL
If you’re used to STL files, this is an important shift.
- STL only contains geometry
- 3MF can include color, materials, and metadata
That’s why 3MF is central to this workflow—especially for multi-color printing.
In simple terms:
👉 STL = shape only
👉 3MF = shape + instructions
What “Print-Ready” Really Means
Even though the workflow is simplified, it’s not perfect.
AI-generated models can still have issues like:
- Thin walls
- Small gaps or holes
- Fragile details
So while the process is faster, basic validation is still important before printing.
The Reality: Faster, Not Fully Automated
It’s easy to think this is “one-click 3D printing.” It’s not.
There are still real-world constraints:
- Slicing decisions still matter
- Multi-color prints take more time
- Filament changes create waste
But compared to traditional workflows, the barrier to entry is dramatically lower.
Why This Matters
This is less about replacing professionals—and more about expanding access.
For the first time, people without modeling experience can:
- Create printable objects
- Experiment with ideas quickly
- Turn images into physical items
That’s a meaningful shift in how 3D printing is used.
Conclusion
The modern image to 3D print workflow is simple on the surface:
Image → AI model → export → print
Tools like Meshy and MakerWorld are making this process faster, more accessible, and easier to understand.
It’s not perfect—and it’s not fully automated—but it’s a clear step toward a future where creating physical objects is as easy as uploading an image.
🚀 Want to Try It Yourself?
Upload an image and see what happens.
That’s the fastest way to understand what this workflow can really do.


